Onboarding partners
This guide covers how to add users to your partner account and assign the appropriate role for their level of access.
Roles and permissions
When adding a user to your partner account, you must assign one of two roles. The role determines what the user can see and do within the platform.
| Capability | Partner Admin | Onboarding Agent |
|---|---|---|
| View all client accounts and onboarding statuses | Yes | Assigned accounts only |
| Create client accounts | Yes | Yes (auto-assigned) |
| Manage onboarding for client accounts | All accounts | Assigned accounts only |
| Manage users and assign roles | Yes | No |
| Manage API credentials* | Yes | No |
* API credential management is only available for partners who have been granted API access by Hubpay.
Partner Admin
The Partner Admin role is intended for users who need full visibility across the partner organisation. Admins can view all client accounts and their onboarding statuses, manage API credentials, and add or remove users. Assign this role to team leads or operations managers who oversee onboarding activity across your organisation.
Onboarding Agent
The Onboarding Agent role is intended for users who handle client onboarding directly. Agents can only view and manage the accounts they have created or been assigned to. They do not have access to API credentials, user management, or accounts belonging to other agents.
Adding a user
-
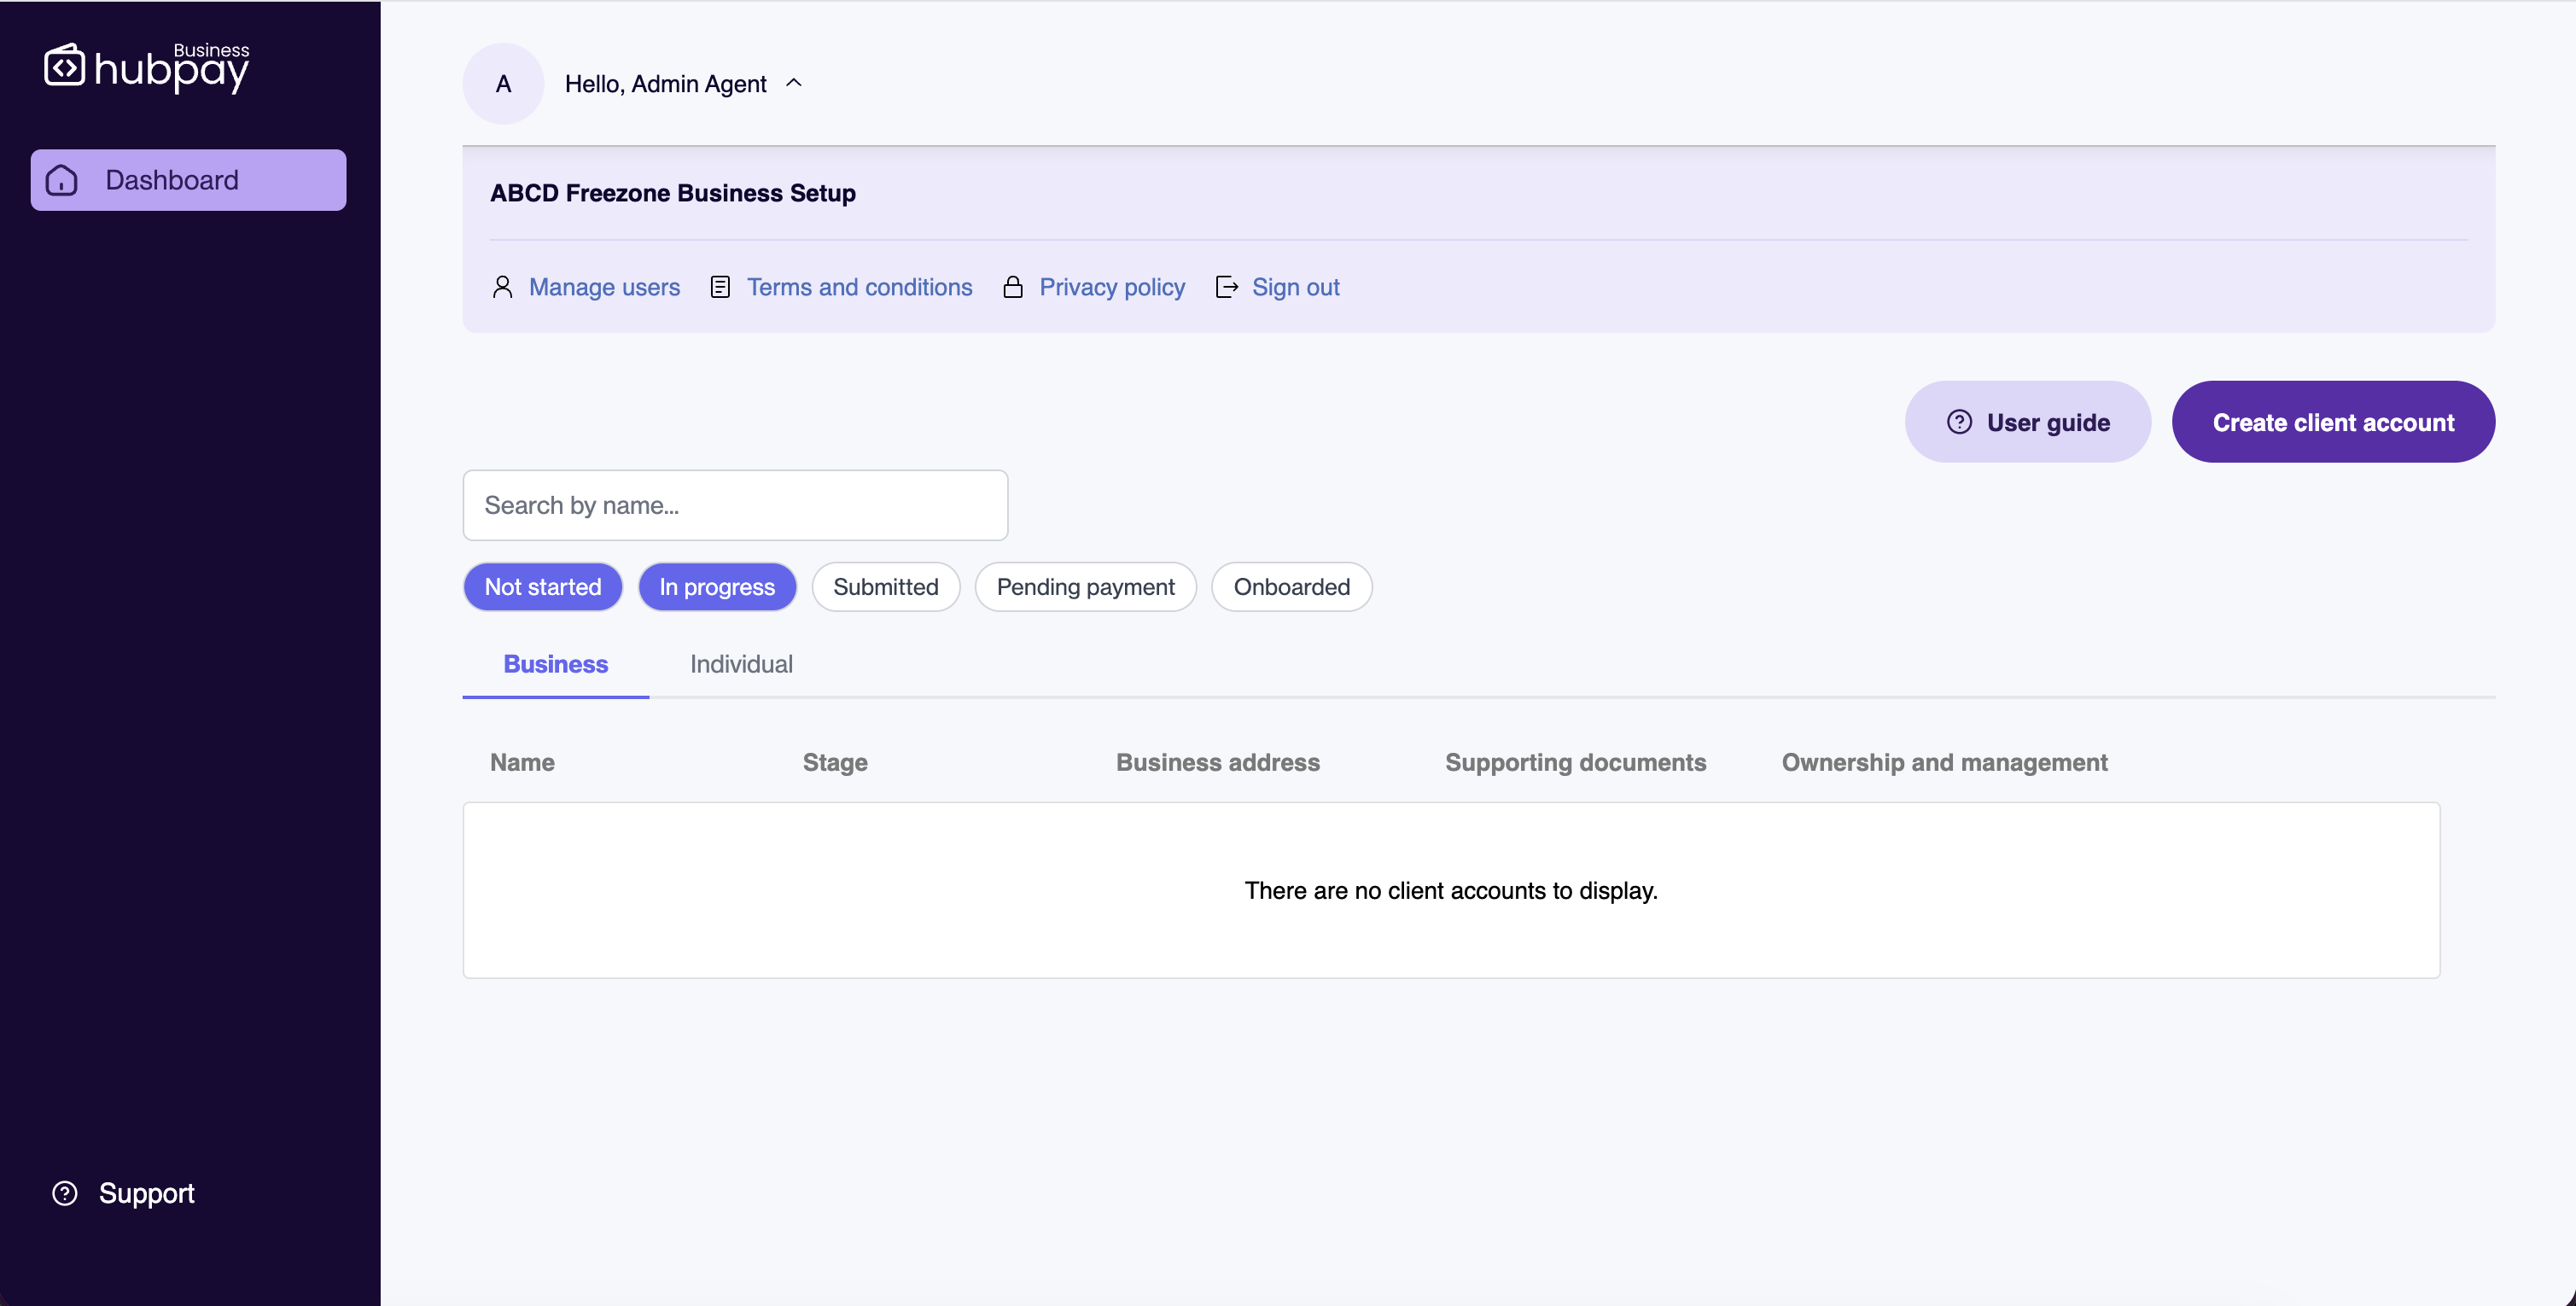
Click on your account name at the top of the screen to open the account menu.
-
Select "Manage Users" from the account menu.
-
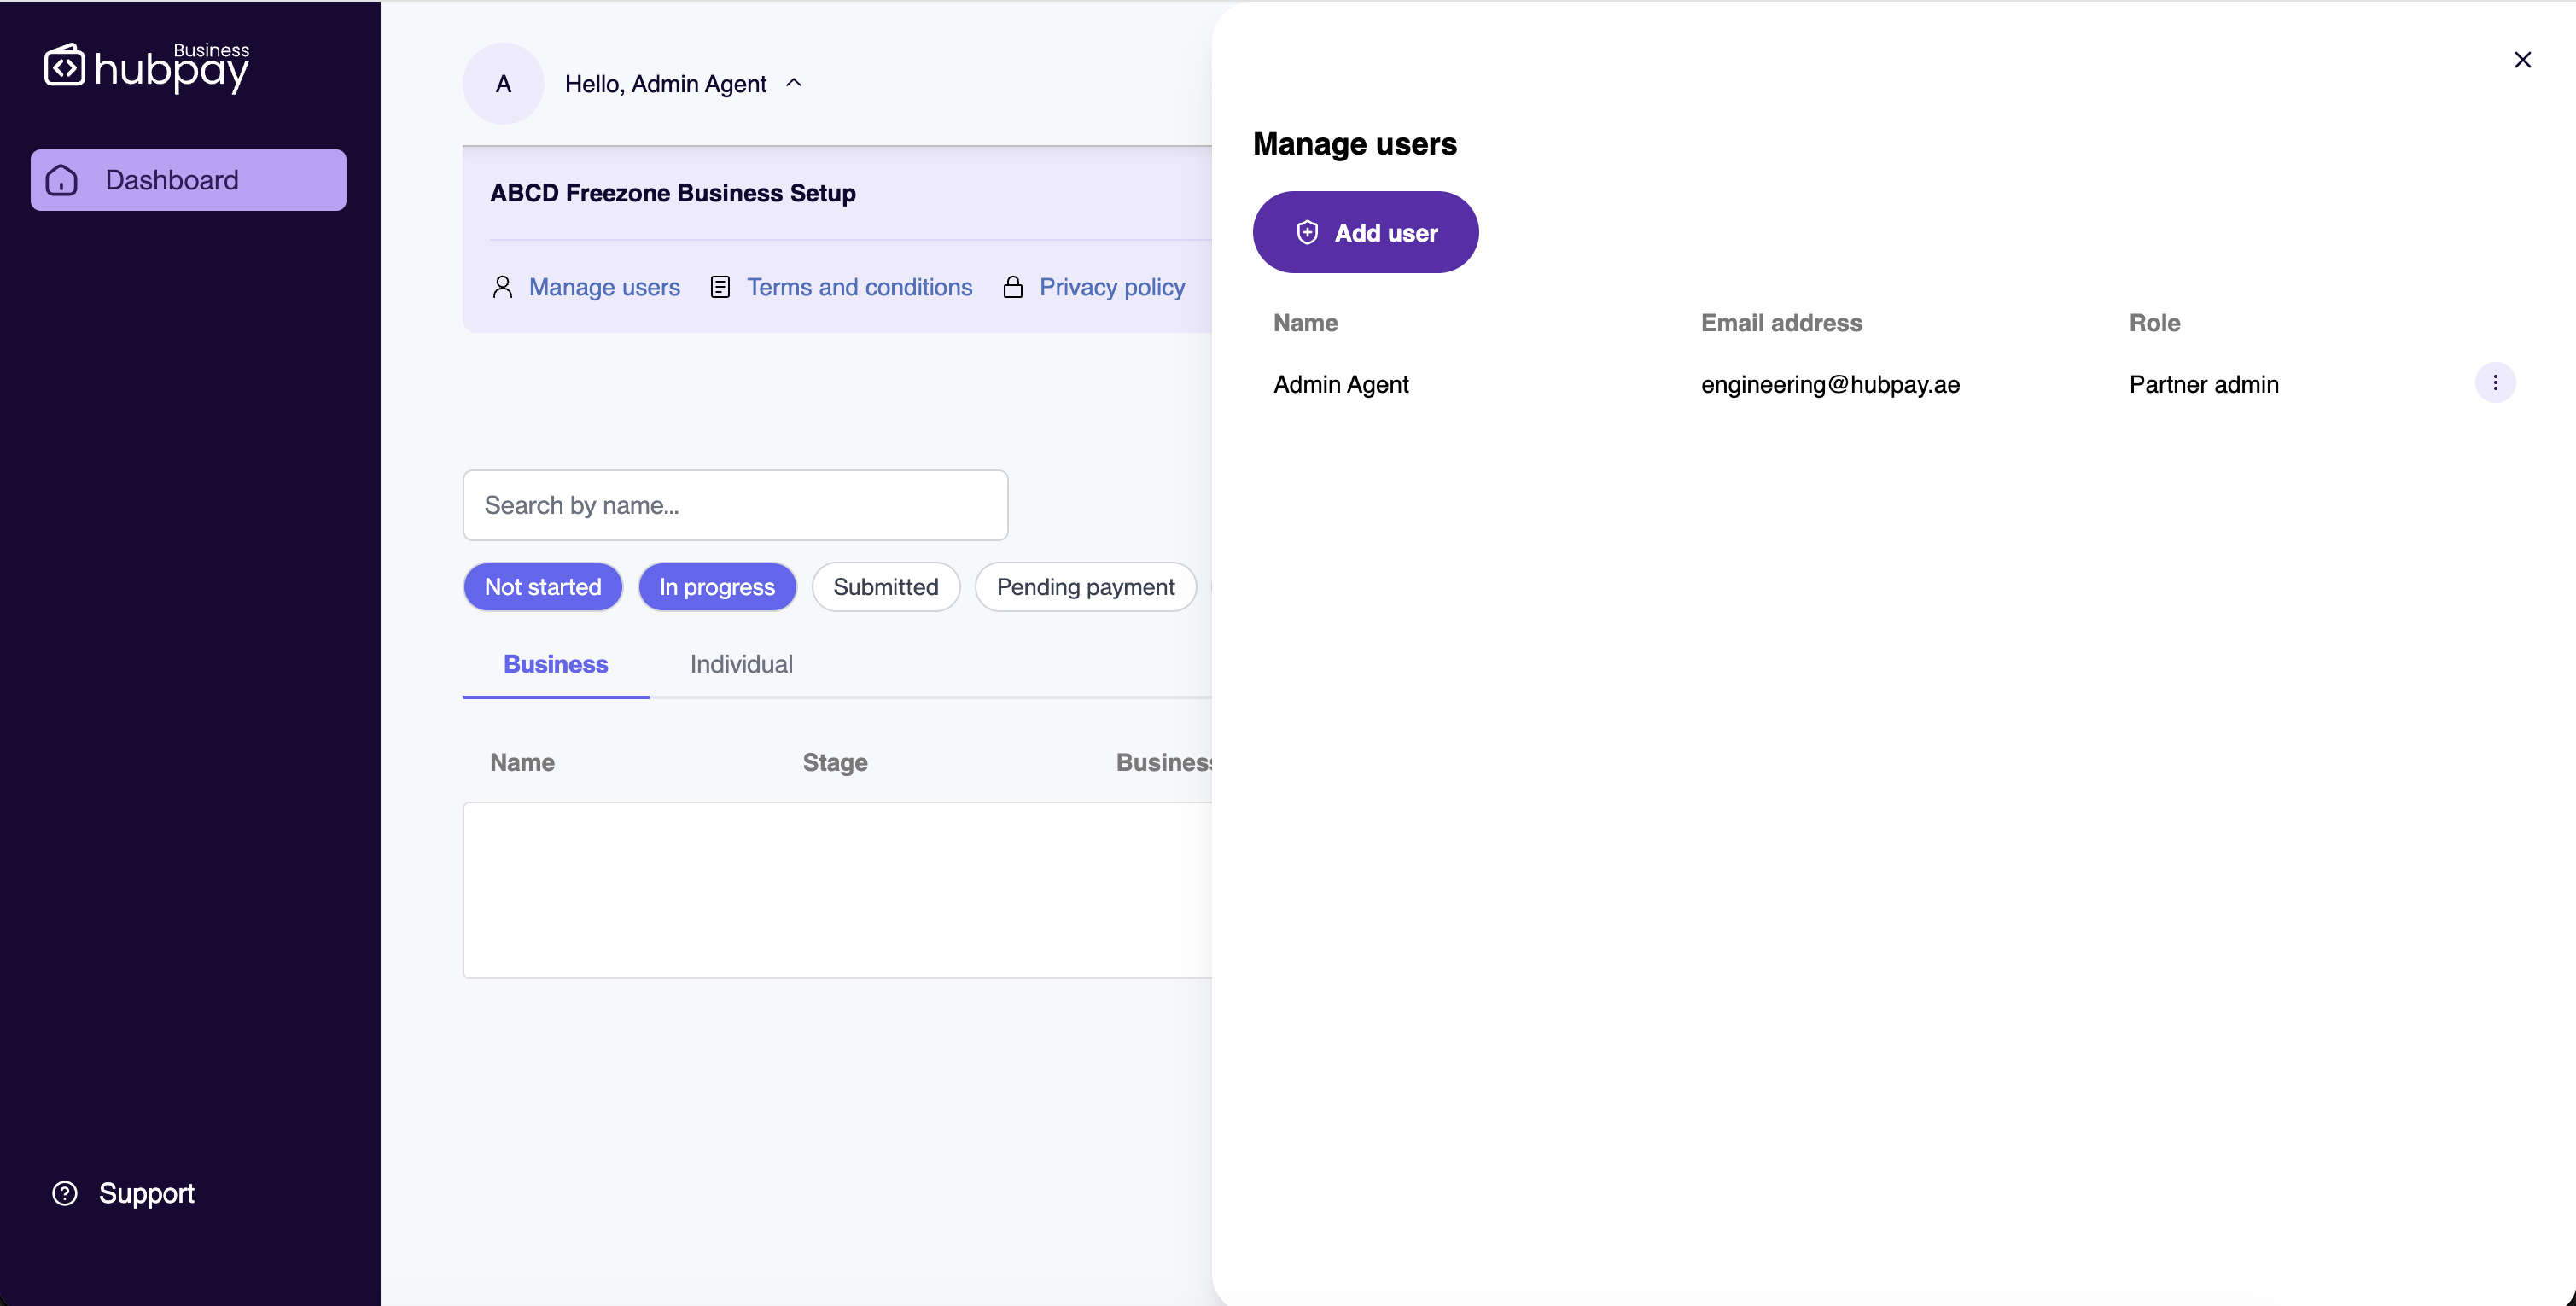
Click the "Add user" button to begin adding a new user.
-
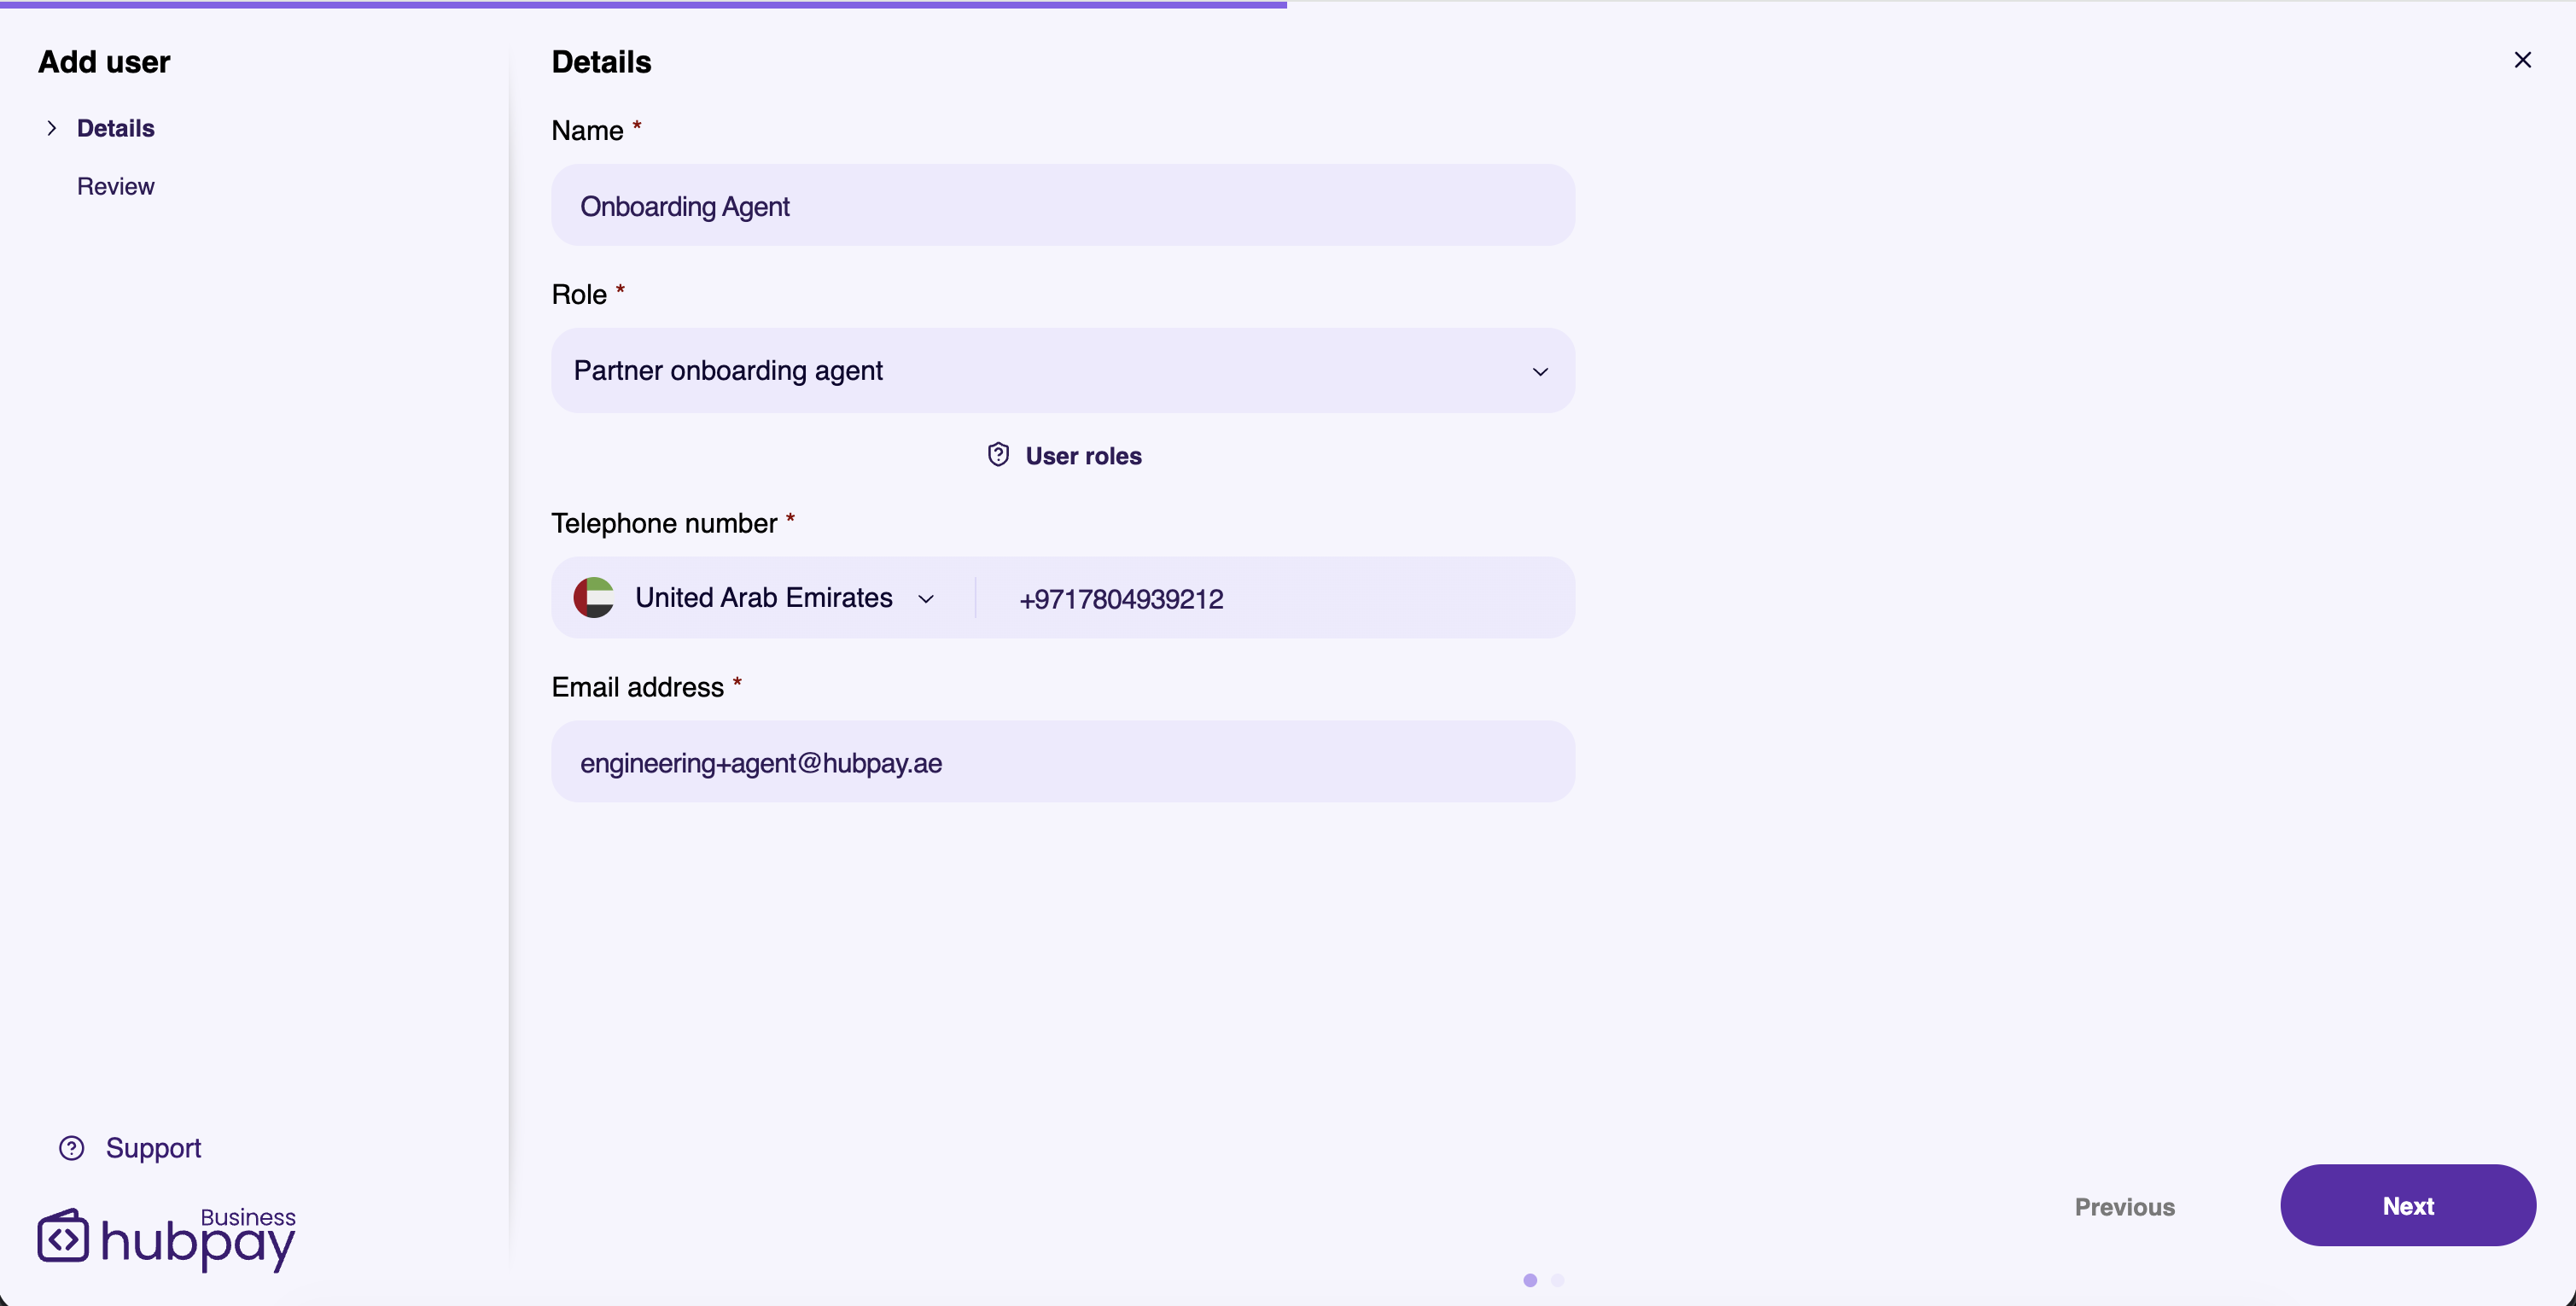
Fill in the required details — name, email address, and role — then review the information before submitting.
-
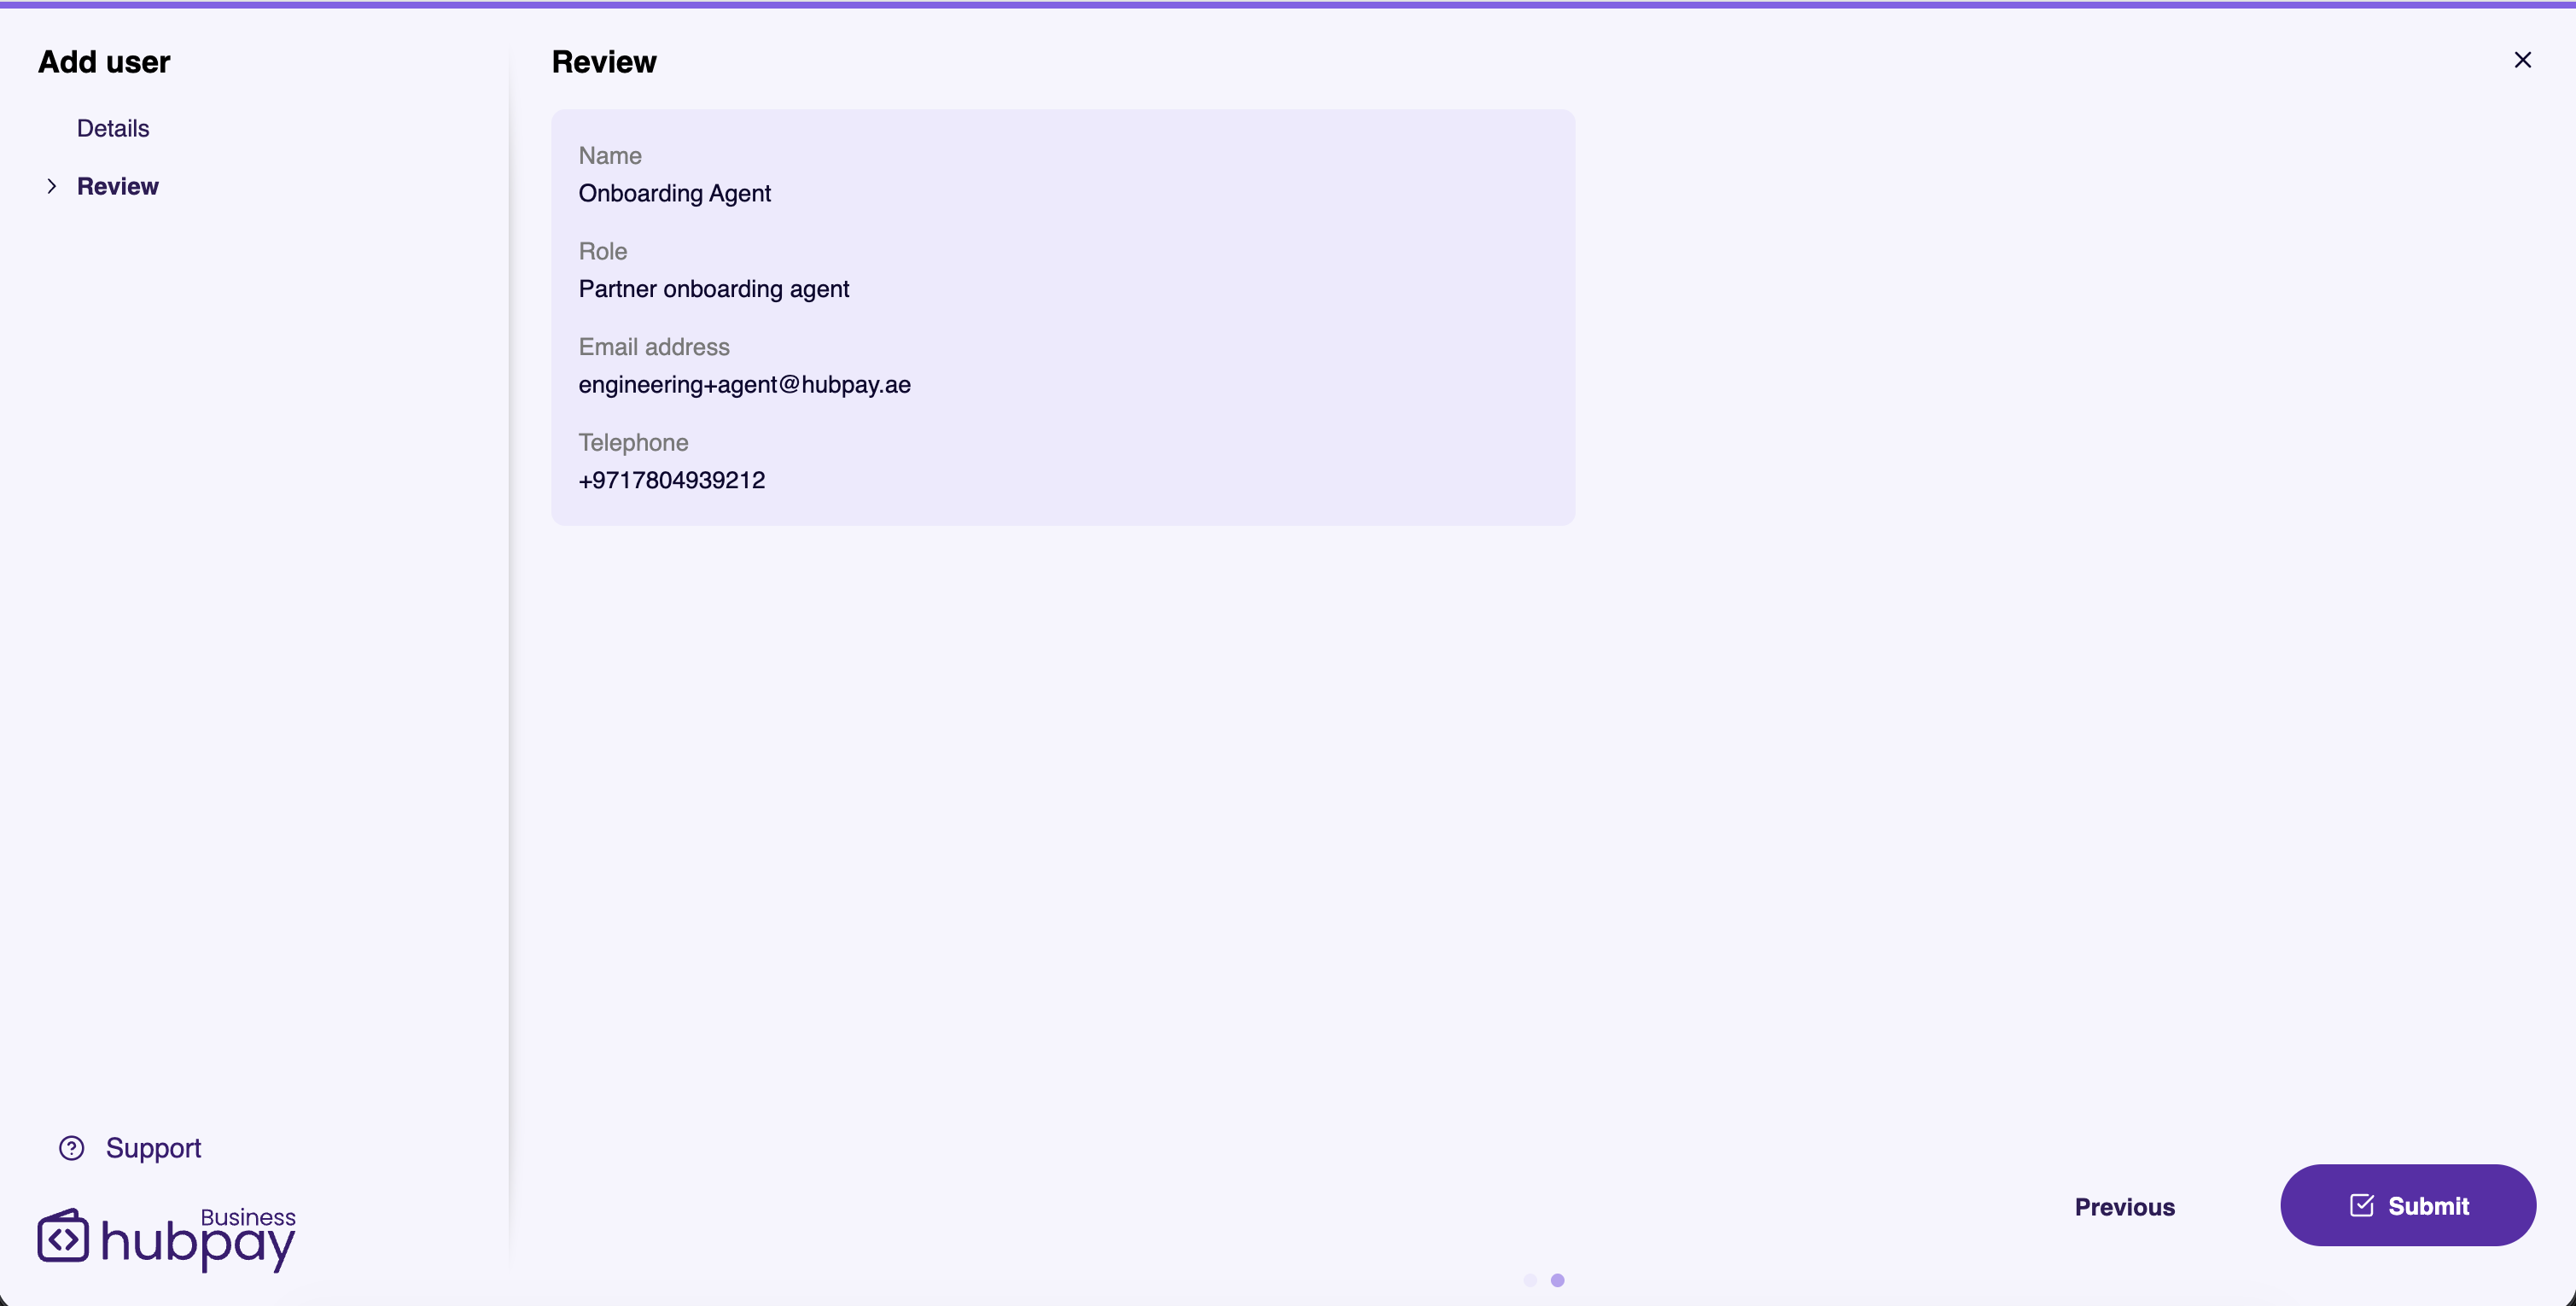
Click Submit. The new user will receive a welcome email with login instructions.
-
The user can now log in and begin working within the permissions of their assigned role.
Creating a client account
To begin onboarding a client, click the "Create client account" button from your dashboard. You will be prompted to provide the following details:
| Field | Description |
|---|---|
| Business display name | The trading or registered name of the client |
| Primary contact phone number | A direct phone number for the client's main point of contact |
| Primary contact email address | The email address used for all account communications |
| Registered country | The country in which the client is legally registered |
| External ID/Reference | Your own internal reference for this client, used to match records between your systems and Hubpay |
| Account type | Whether the client is an Individual or a Business |
All fields are required. Once submitted, the client account will be created and assigned to you for onboarding.
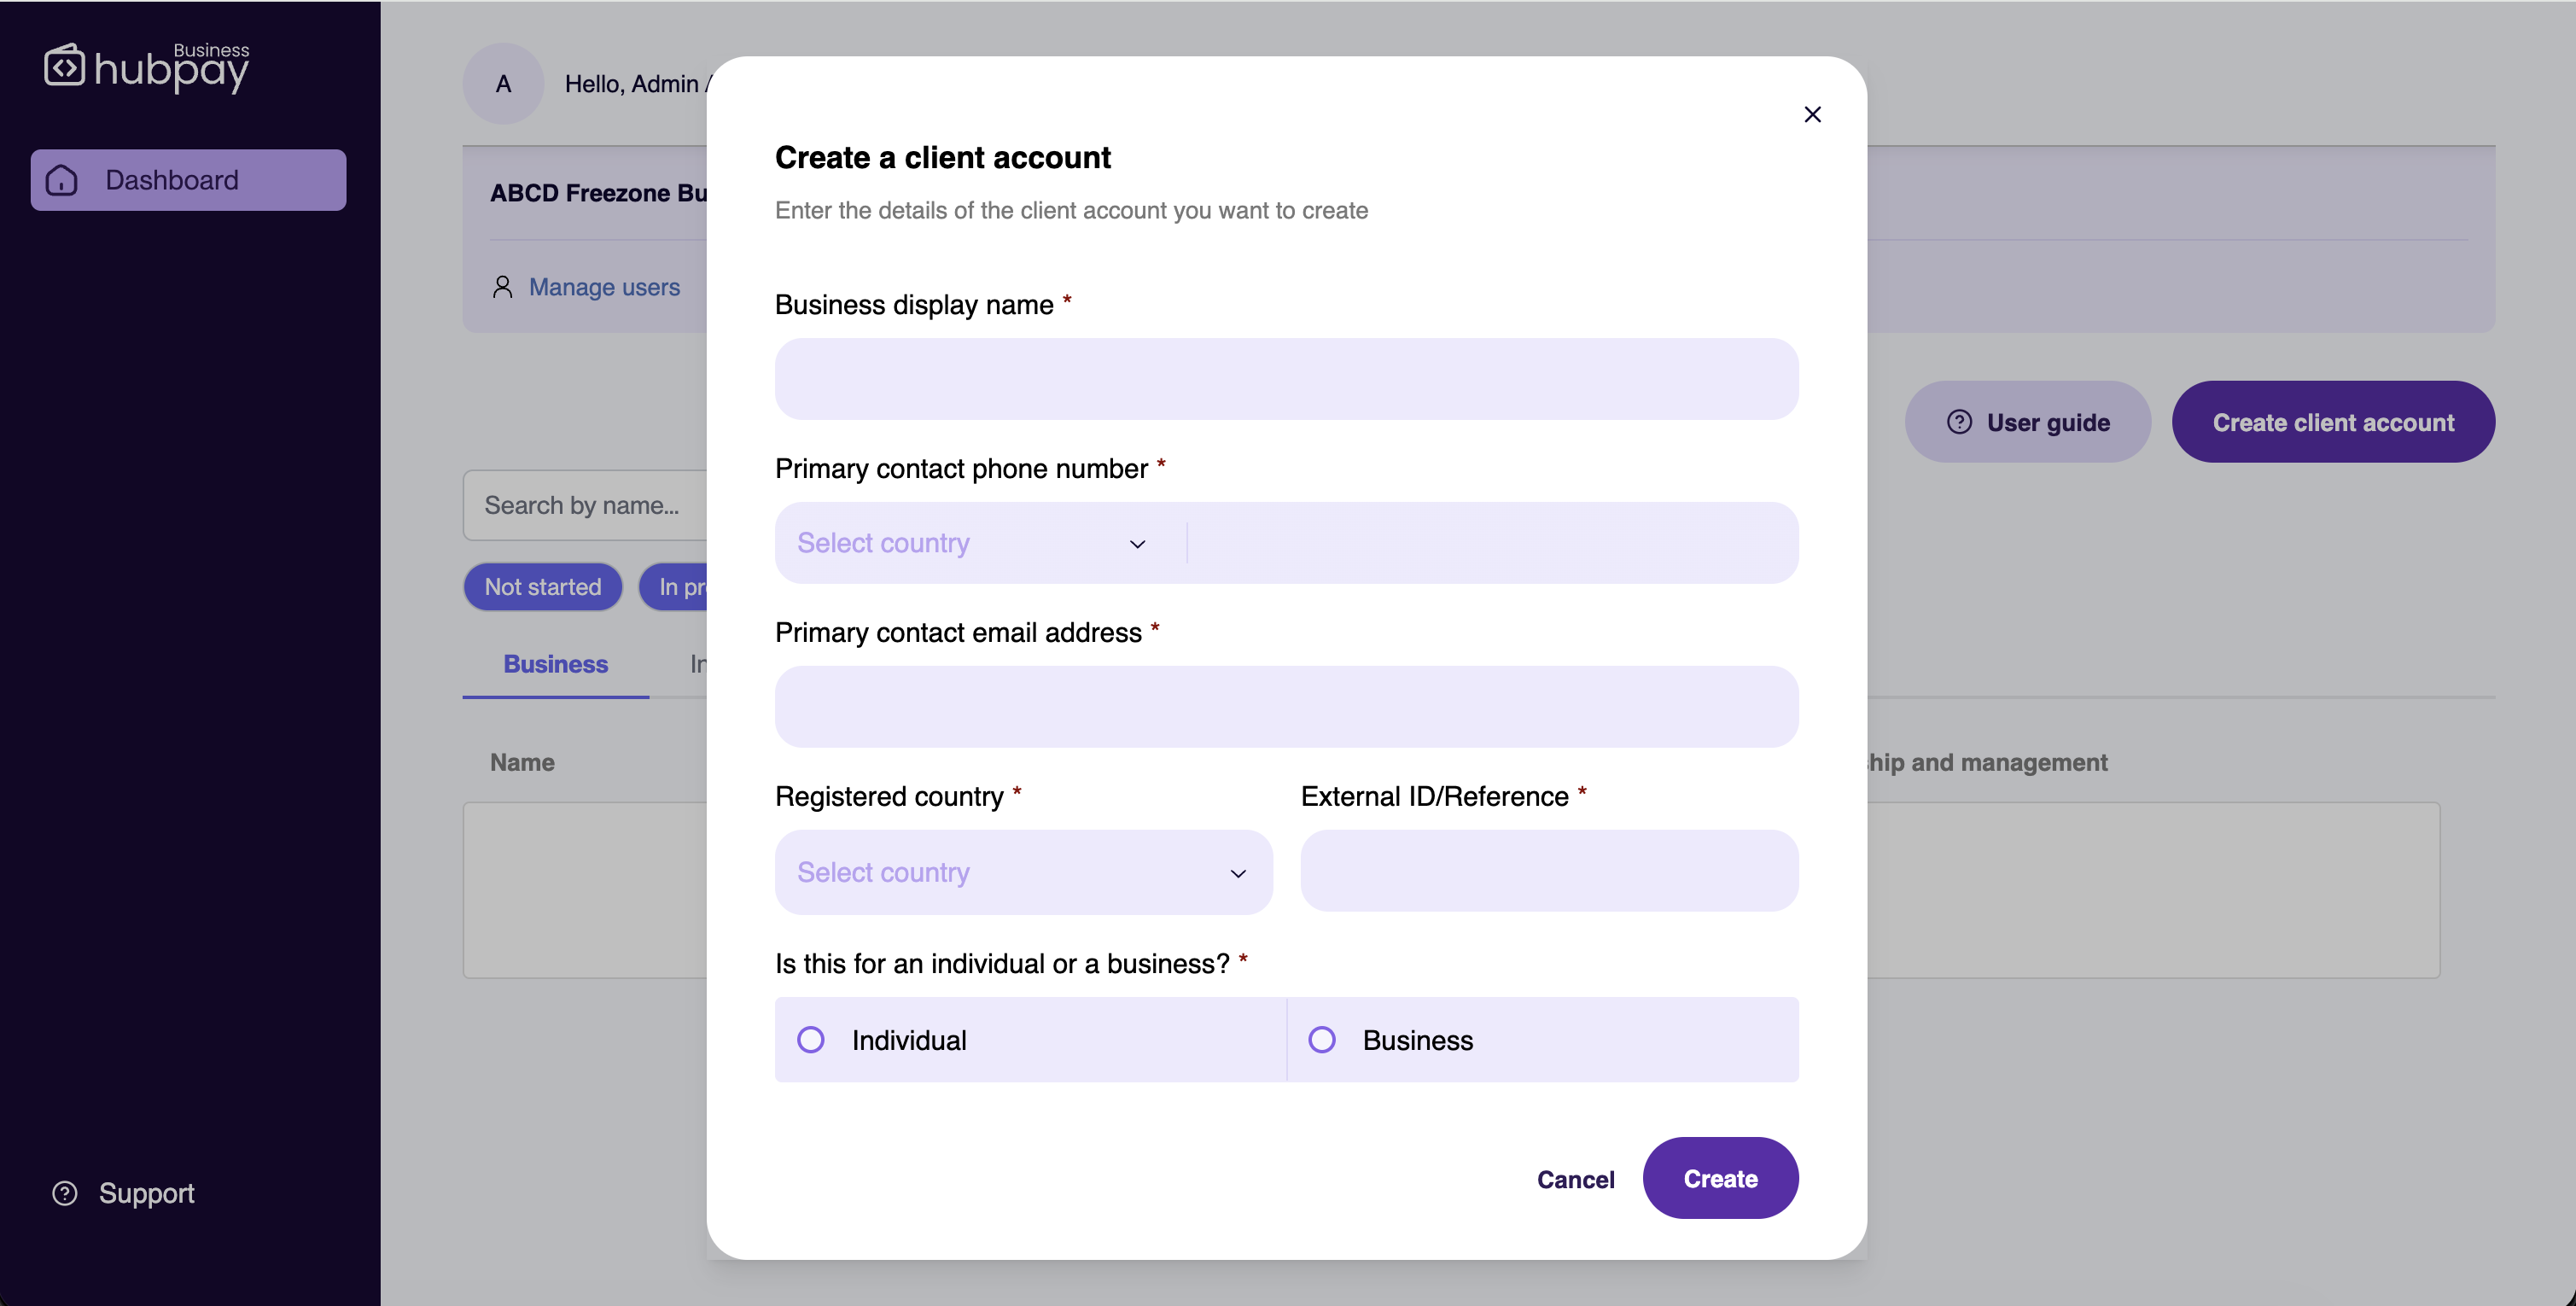
If you are a Partner Admin, the account can be reassigned to another user. If you are an Onboarding Agent, the account is automatically assigned to you and only visible on your dashboard.
Client account overview
Once a client account has been created, it will appear on your dashboard. You can filter accounts by onboarding stage, search by name, and switch between Business and Individual account views.
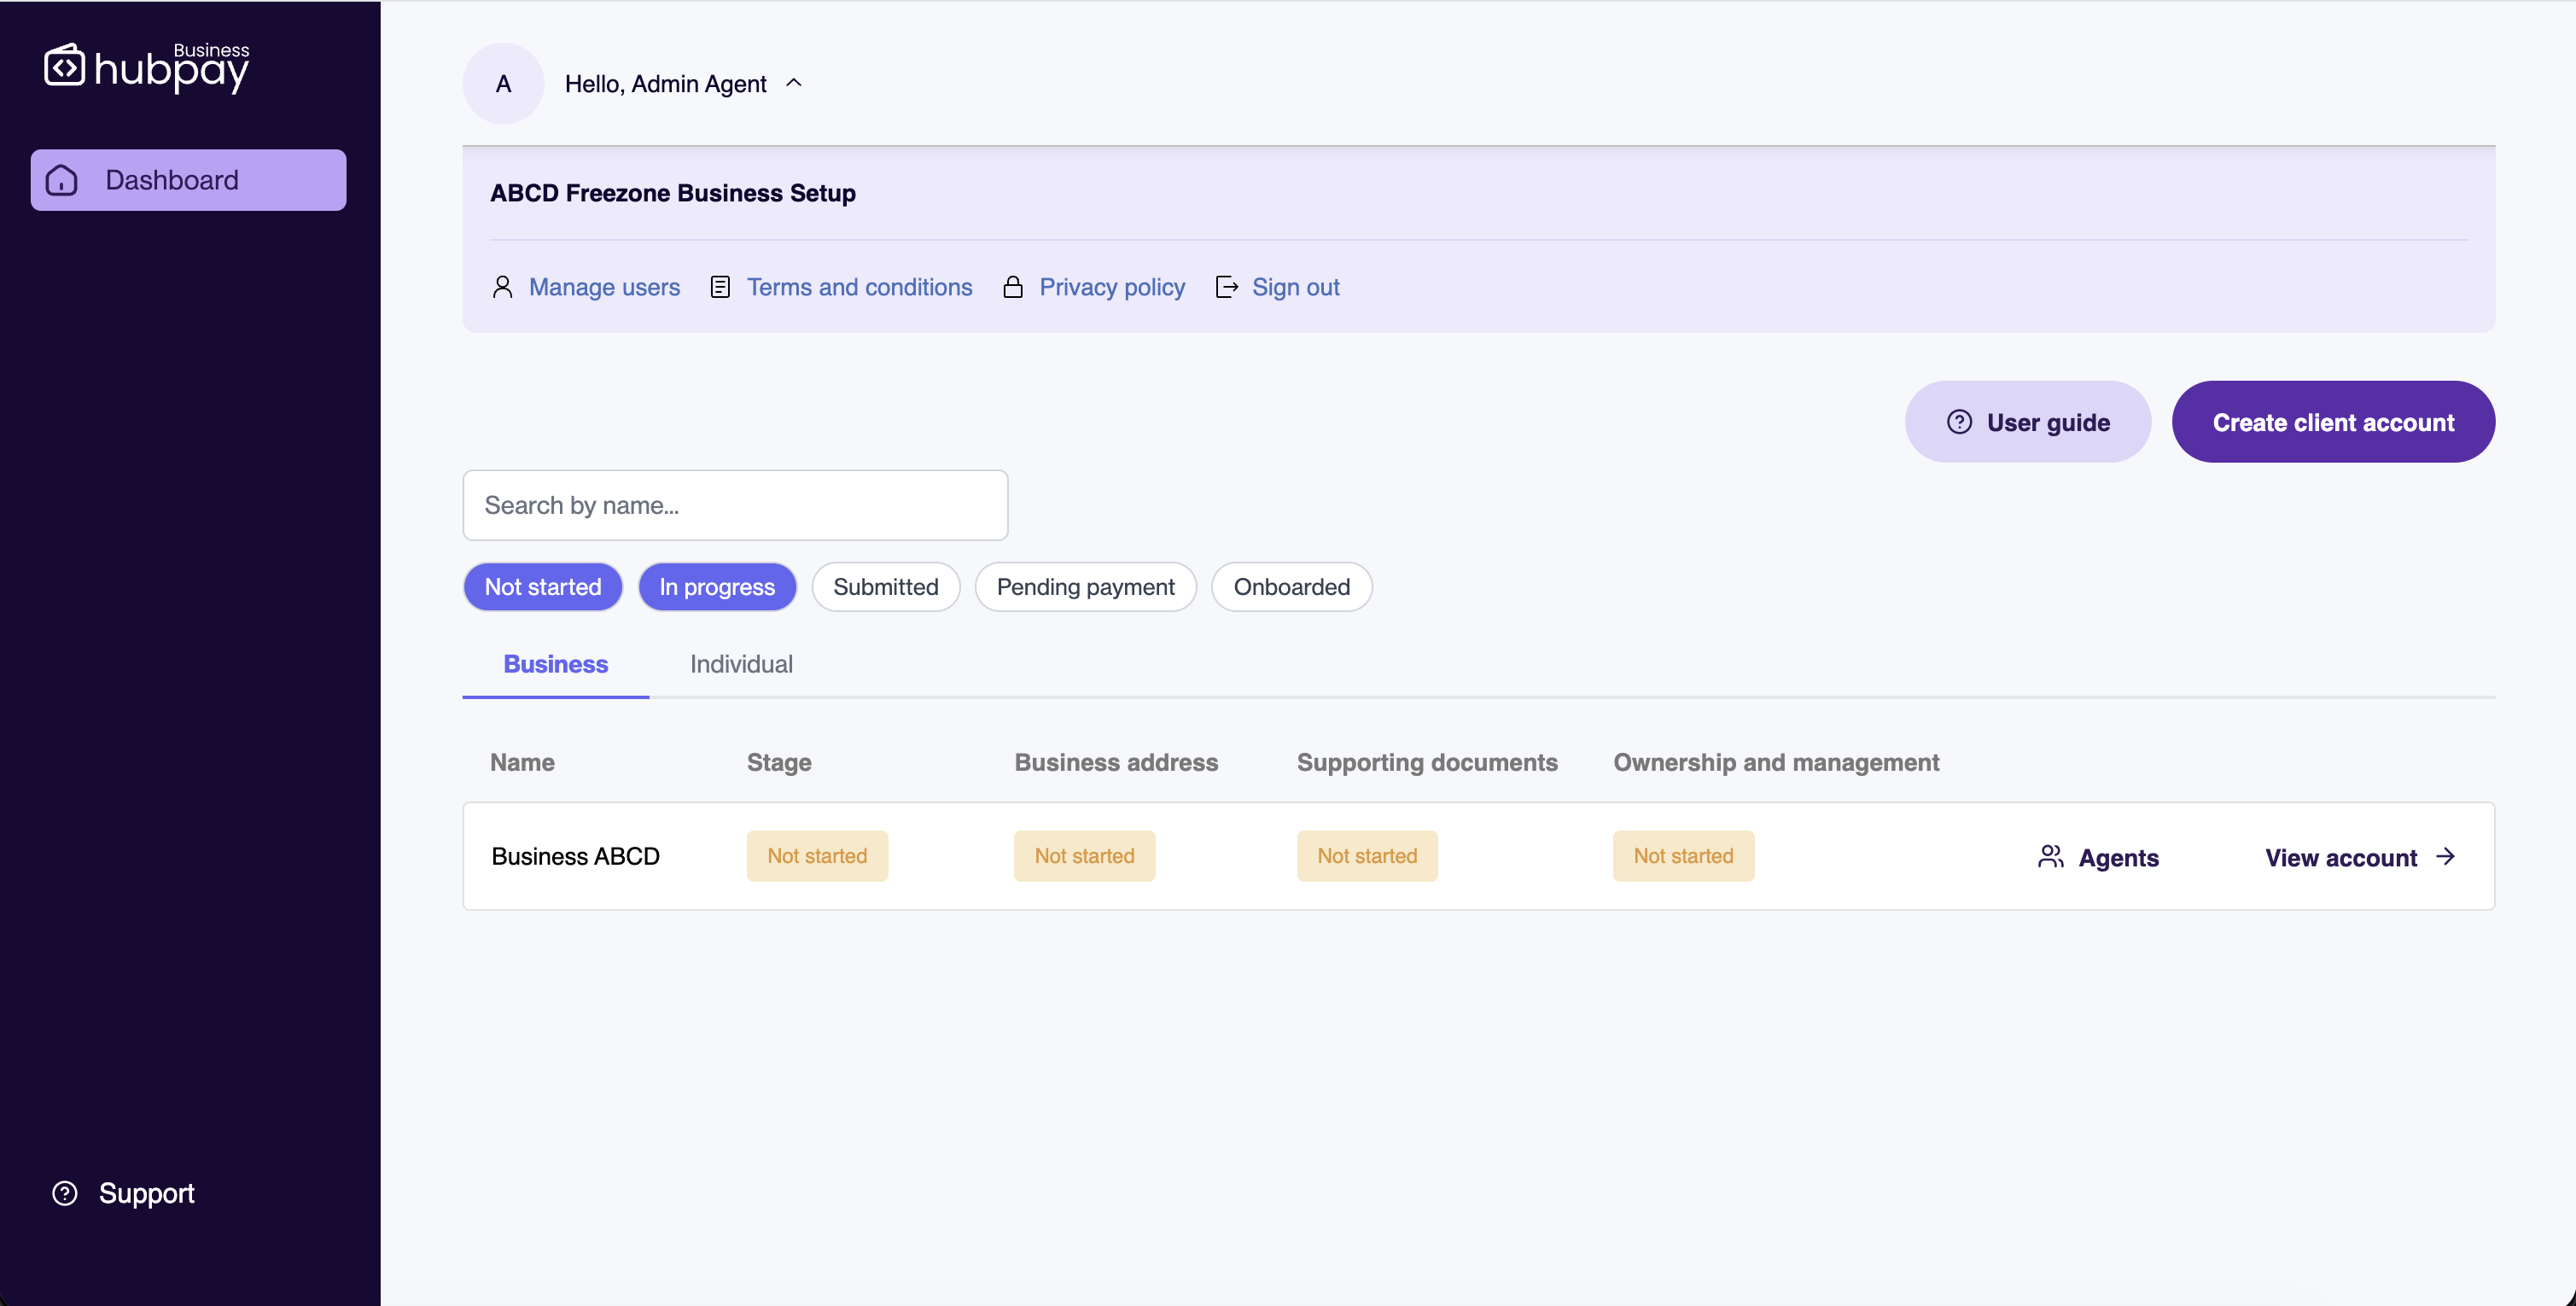
Each client account displays its progress across three onboarding stages. The stages differ depending on the account type:
Business accounts:
| Stage | Description |
|---|---|
| Business address | Registered and trading address details for the business |
| Supporting documents | Required documentation such as trade licences, certificates of incorporation, or memoranda of association |
| Ownership and management | Details of shareholders, directors, and ultimate beneficial owners |
Individual accounts:
| Stage | Description |
|---|---|
| About you | Personal details and questionnaire |
| Supporting documents | Required identification and proof of address documents |
| Financial information | Income, assets, and source of funds details |
Each stage can be marked as Not started, In progress, Action required, In review, or Completed. The overall account status progresses through: Not started → In progress → Submitted → Pending payment → Onboarded.
Note: The Pending payment status only applies to accounts on the Starter or Scale tier, where the client must add a payment method to activate their account. Treasury tier accounts skip this step and are activated directly.
Viewing and managing a client account
Click "View account" to open the full account detail and begin completing onboarding stages.
Partner Admins will also see an "Agents" option on the client account, which allows them to assign or reassign onboarding agents to that account. This is useful for distributing workload across your team or transferring a client to another agent. Onboarding Agents do not have access to this feature.
Onboarded accounts
Once a client account reaches the Onboarded status, it will remain visible on your dashboard but you will no longer be able to access or manage the account. The client has completed onboarding and their account is now fully managed by Hubpay.