Create a payment link
Create a payment request from your backend and share the returned Hubpay checkout URL with the customer.
You need API credentials and access to Create payment request.
1. Create a payer (if needed)
You can either reference an existing payer by payerId, or create one inline when creating the payment request.
- Existing payer: If you already have a
payerId, you can skip this step and pass it directly in the payment request. - New payer: Create one ahead of time using the API, or provide the payer details inline in the
payerfield of the payment request (see step 3).
For crypto payments, supply any identification you already hold when you create or update the payer. Hubpay checkout asks the payer only if the required information is missing. See Crypto payer identification.
2. Upload a document (optional)
Depending on your account configuration and payment method, Hubpay may require a supporting document such as an invoice, purchase order or commercial contract.
{
  "id": "550e8400-e29b-41d4-a716-446655440000"
}
3. Create a payment request
Use the API to create a new payment link.
Set executionMode to PAYMENT_LINK in the request payload.
Specify the amount, currency, and either a payerId or inline payer details.
Set autoSendPaymentLink to true to automatically email the payment link to the payer.
Part of the response will look like this:
{
  "paymentUrl": "https://pay.hubpay.ae/AH-VGTJ-24GX",
  "successRedirectUrl": "https://yourapp.com/success",
  "cancelRedirectUrl": "https://yourapp.com/cancel"
}
When the payer completes their payment journey, Hubpay adds paymentRequestId and paymentId as query parameters to your success redirect URL:
https://yourapp.com/success?paymentRequestId=8a282576-18c0-4c0e-b158-44b92eda1afe&paymentId=46be2ff1-cdbf-4b3d-a4cd-beb0fb22ea0d
The successRedirectUrl redirect means the payer has completed their payment journey, not that funds have been received.
For example, with bank transfers, the payer may have successfully submitted payment instructions, but Hubpay has not yet received the funds.
Always verify payment status via webhook or API lookup before fulfilling orders or providing services.
4. Share the link
Send the paymentUrl to your customer via email, SMS, WhatsApp, CRM, or any preferred channel.
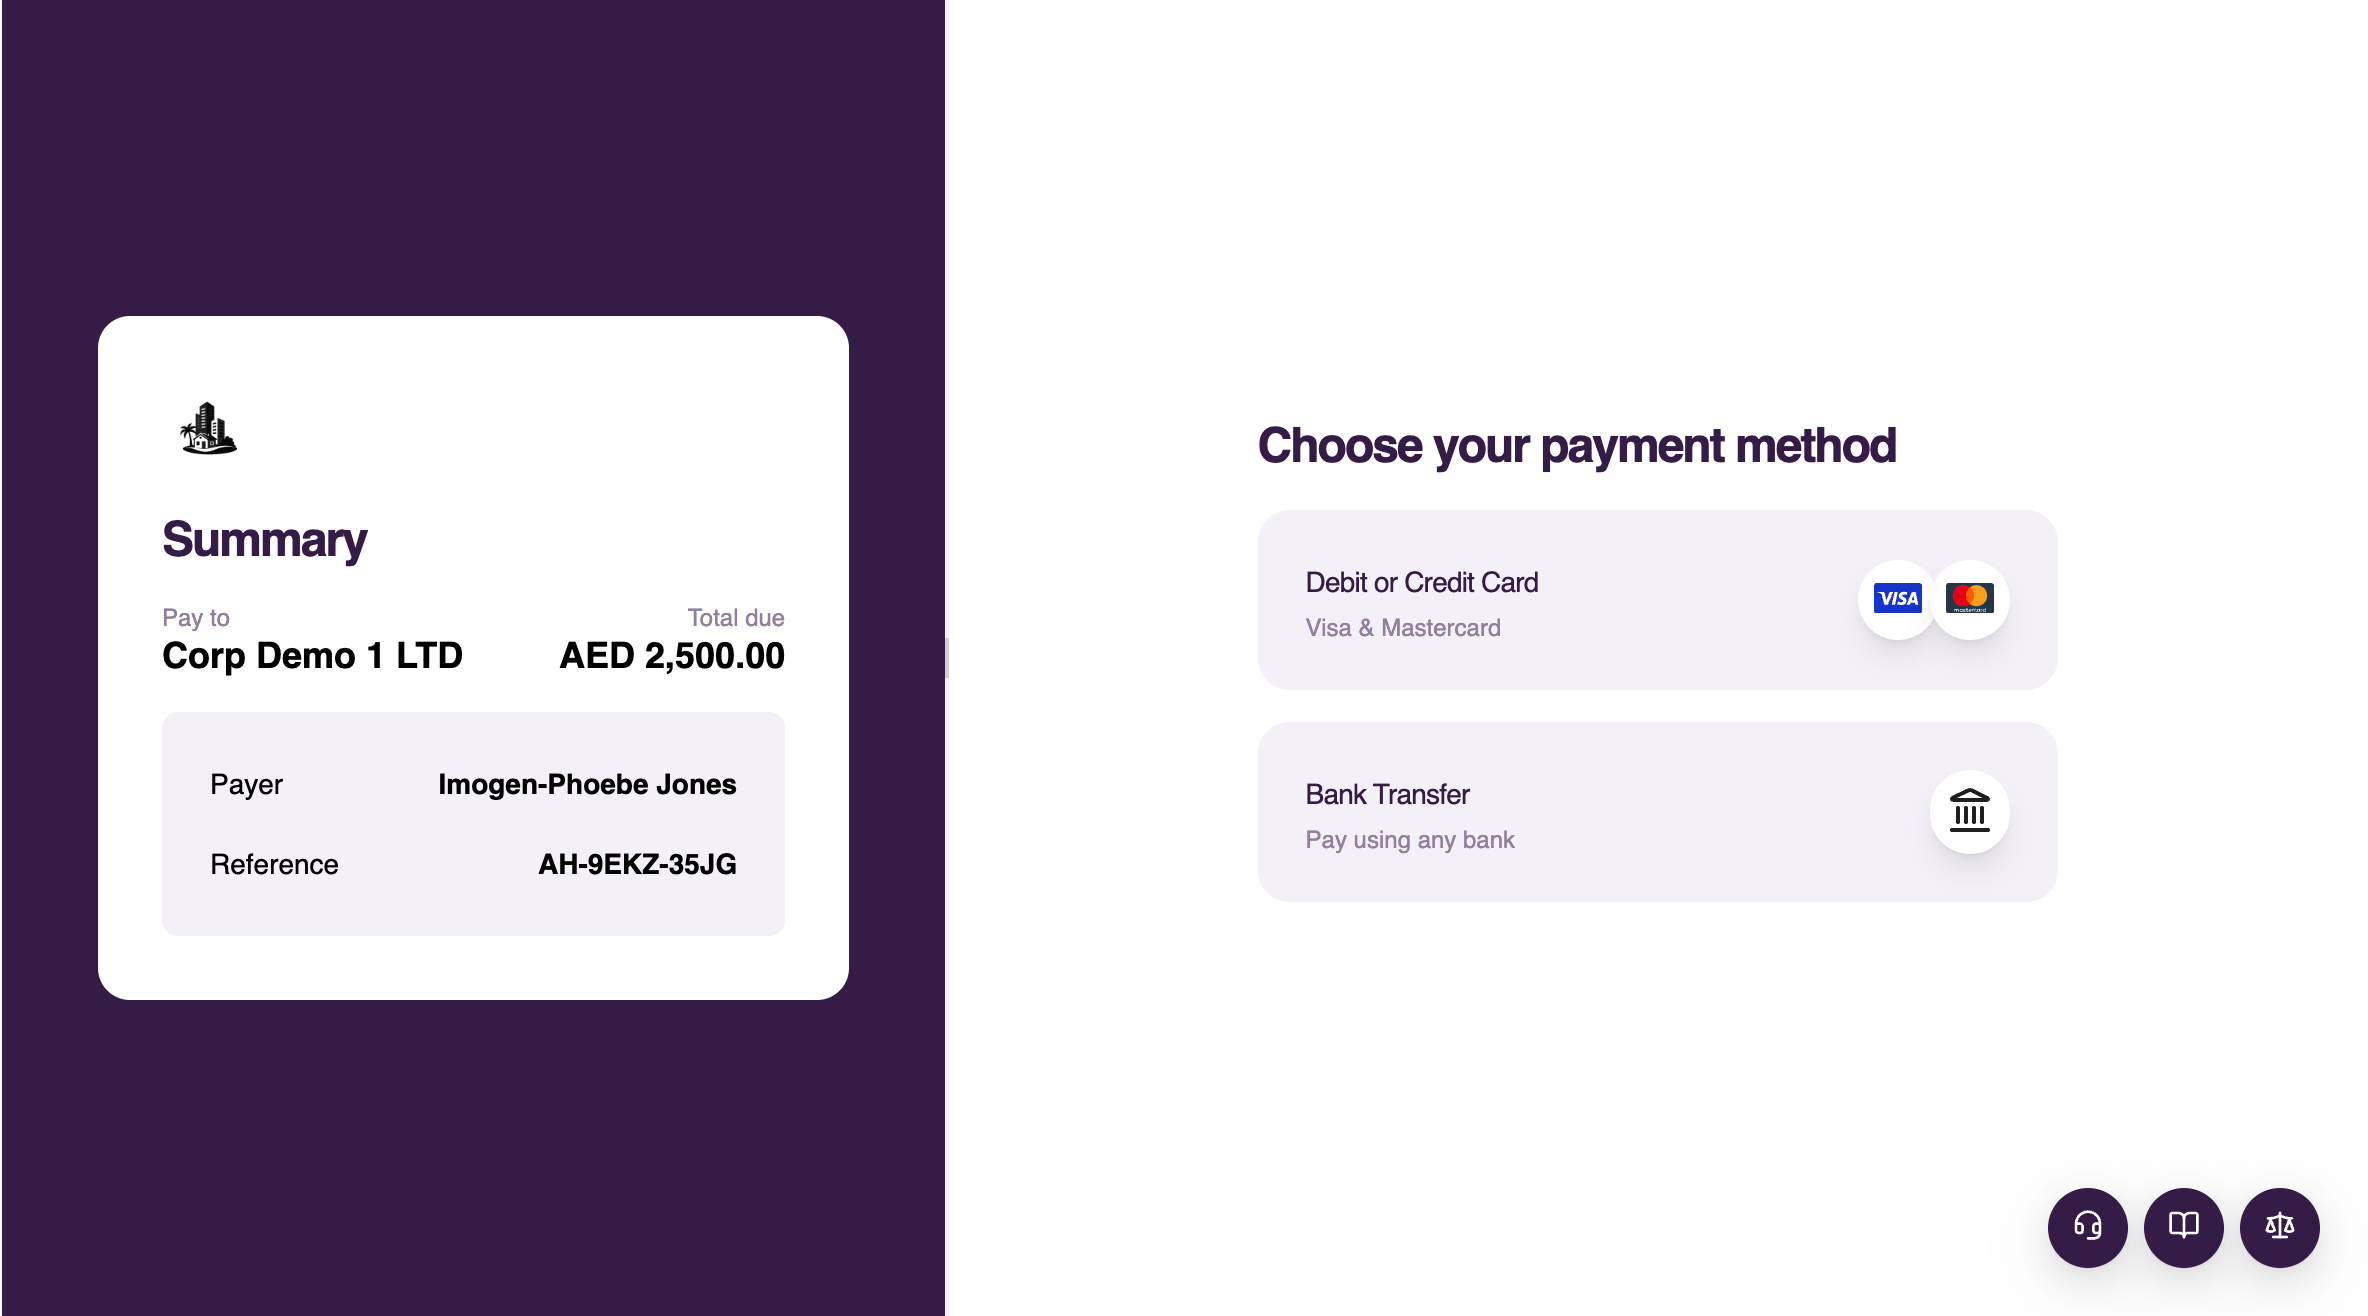
After clicking the link, your customer will see a page similar to this:
5. Customer completes payment
The customer reviews the payment details and completes payment using their preferred method.
6. Confirm the payment
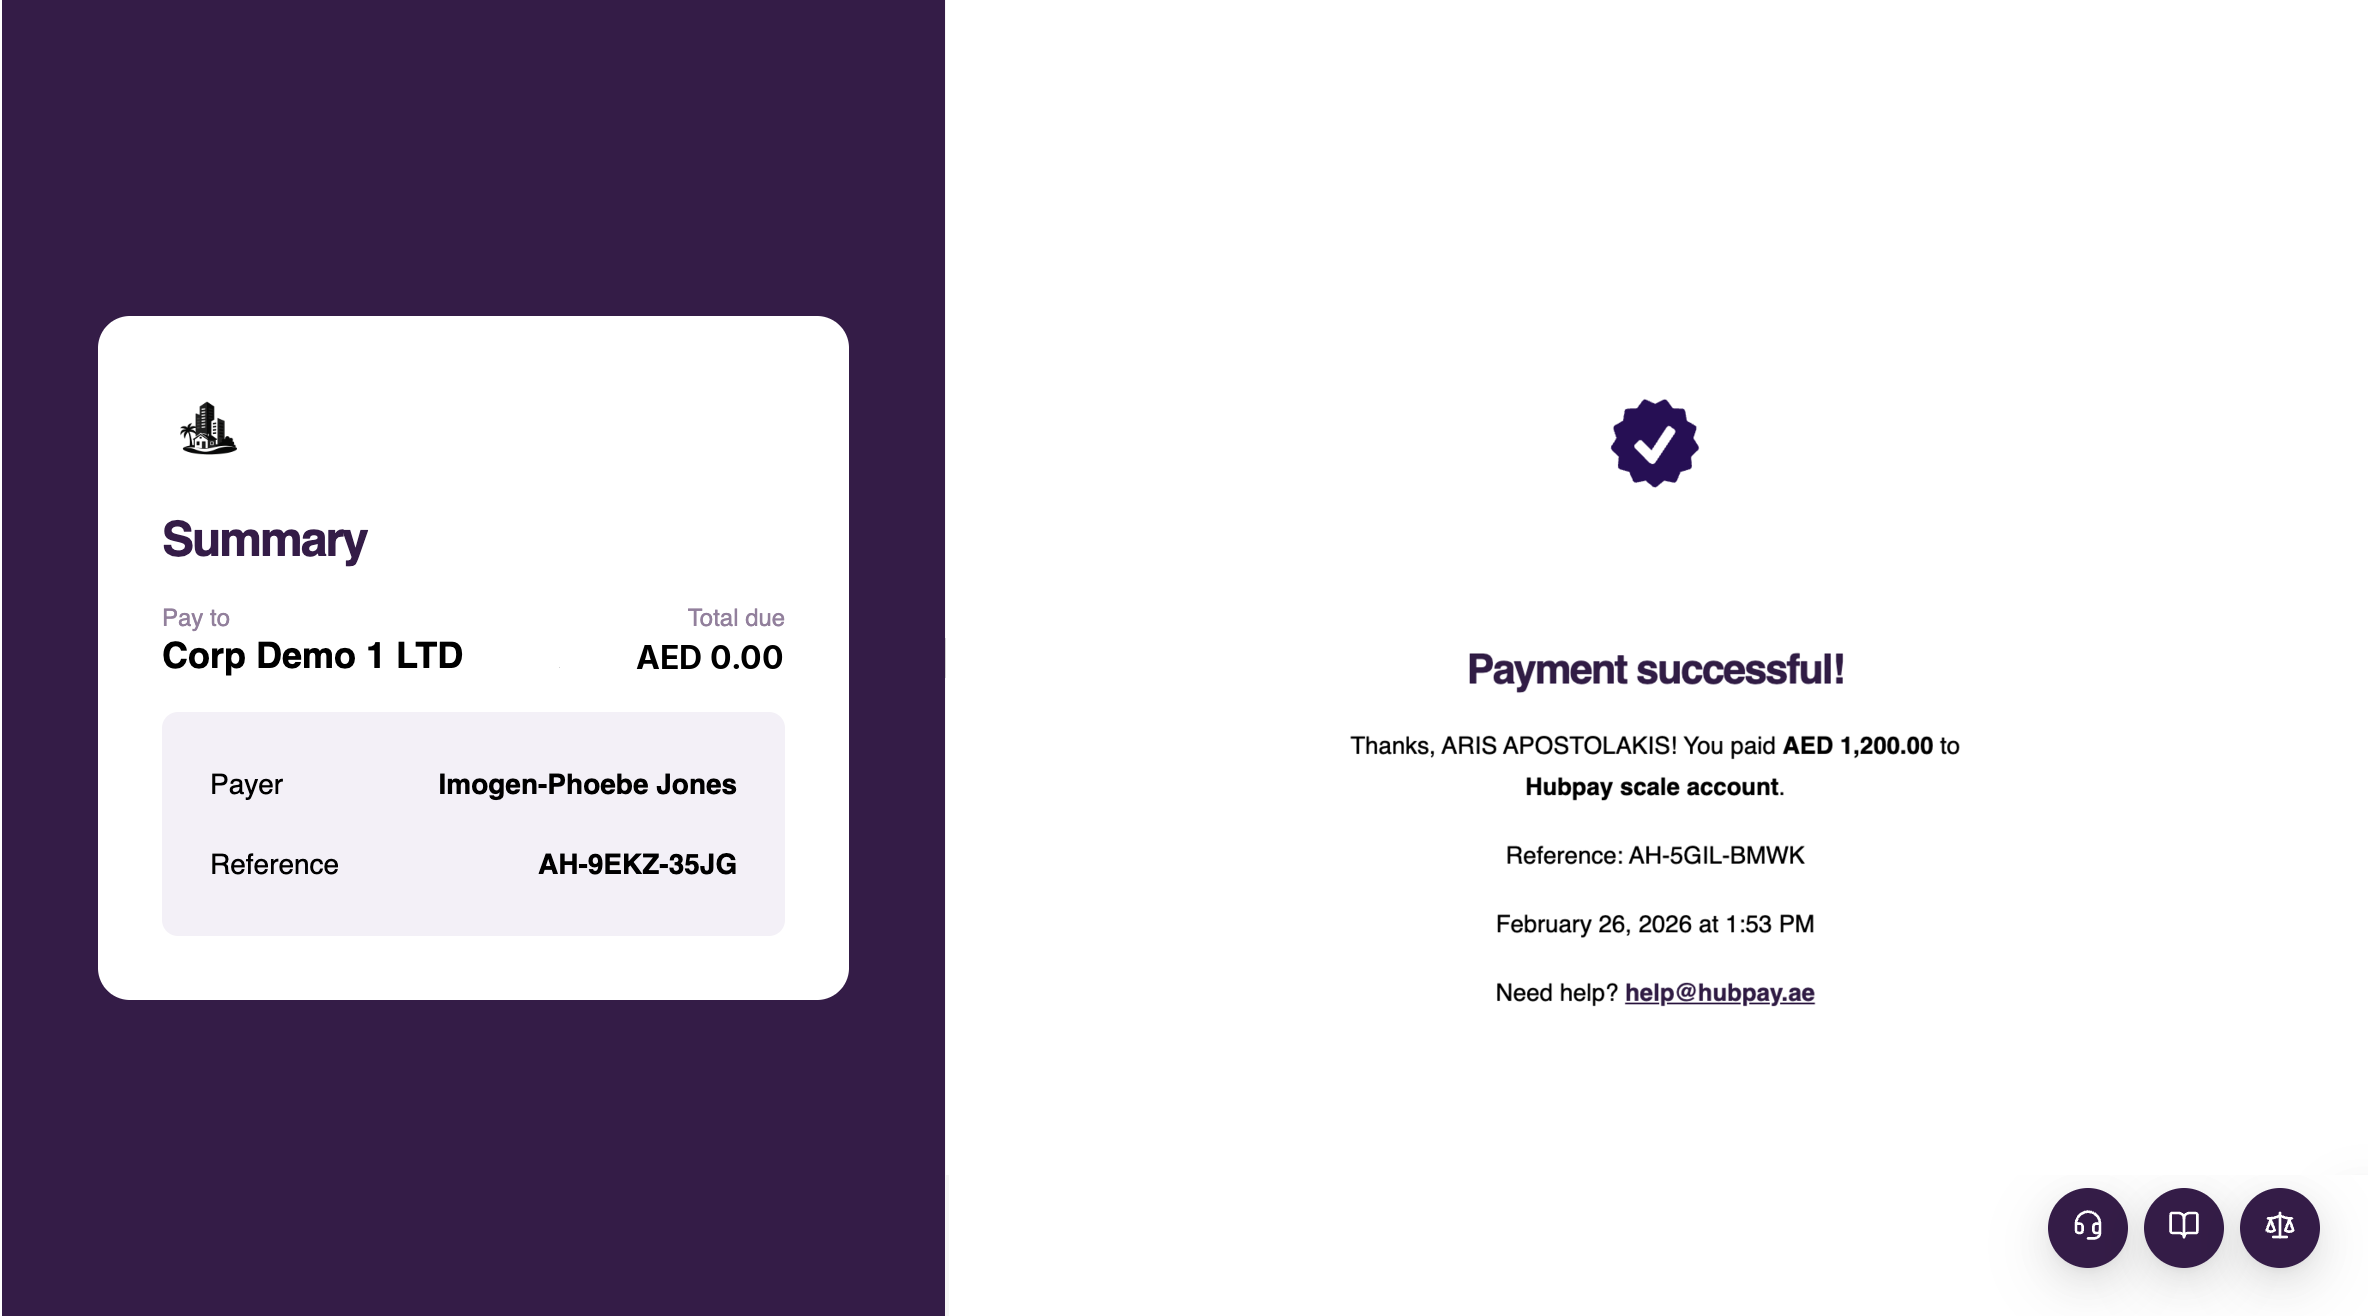
Do not rely solely on the redirect to successRedirectUrl. Always confirm payment via webhook or API.
The redirect to successRedirectUrl means the payer has completed their journey (e.g., submitted bank transfer instructions), but does not confirm that Hubpay has received the funds.
| Method | Description |
|---|---|
| Webhook | For crypto, wait for v1.collection.payment_request.payment.completed. Request-level paid only confirms that the requested balance is covered. |
| API lookup | Fetch GET /v1/collections/payment-requests/{id}. For crypto, confirm the matching payment has status COMPLETE. |
For secure confirmation of all payments, see Payment lifecycle and webhooks.
7. Listen for webhooks
Follow Payment lifecycle and webhooks to process request-level and payment-level events:
v1.collection.payment_request.createdv1.collection.payment_request.paidv1.collection.payment_request.part_paidv1.collection.payment_request.cancelledv1.collection.payment_request.payment.pendingv1.collection.payment_request.payment.receivedv1.collection.payment_request.payment.completedv1.collection.payment_request.payment.failed
8. Configure branding
For details on branding your payment links, see Branding.
See the API reference for request and response schemas.